How to Clean Your Dirt Bike with Ease: The Ultimate Guide Using Slick Products
There’s nothing like the thrill of hitting off-road trails, but the aftermath? Mud, grime, and buildup clinging to every crevice of your dirt bike. Cleaning your ride might seem like a chore, but with the right tools and products, it can be quick, efficient, and even enjoyable. Enter Slick Products, the go-to choice for off-road enthusiasts who want their bikes looking like they just rolled off the showroom floor.
"Spend less time scrubbing and more time riding—Slick Products make off-road cleanup faster, safer, and easier."
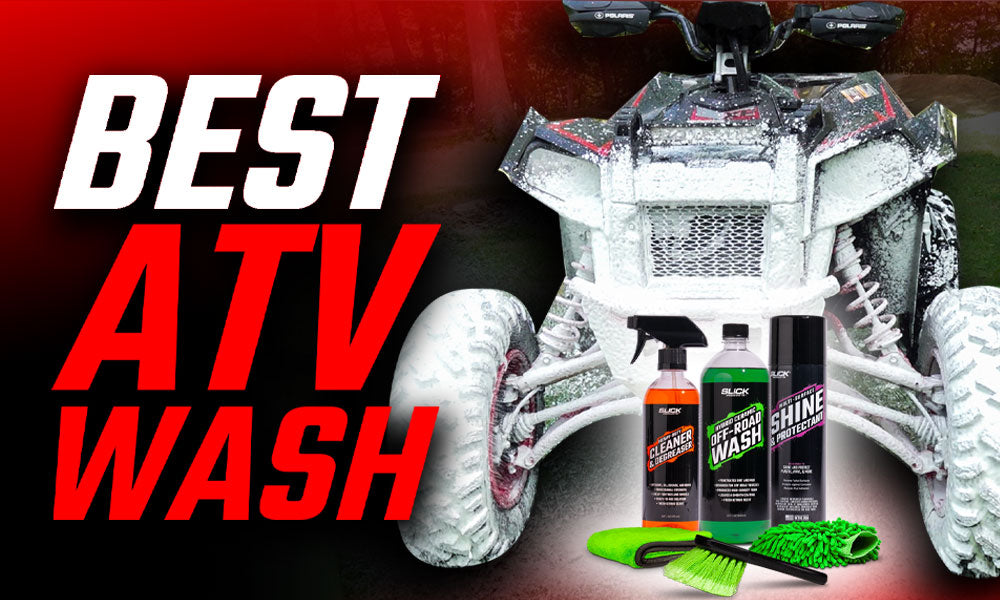
Follow this simple guide to clean and protect your dirt bike using a foam cannon, Slick Off-Road Wash, Cleaner, and Shine & Protectant.
Step 1: Foam Cannon Pre-Wash with Off-Road Wash
Start your cleaning process with Slick Products Off-Road Wash and a foam cannon. This powerful combination makes tackling caked-on dirt effortless.
Mix Your Solution: Add the recommended amount of Slick Off-Road Wash to your foam cannon.
Apply the Foam: Coat your bike generously with thick, rich foam, ensuring every nook and cranny gets covered.
Let It Sit: Allow the foam to dwell for a few minutes. This gives it time to break down dirt, grease, and grime.
Rinse: Use a pressure washer or hose to rinse the bike thoroughly, washing away loosened debris.
Why It Works:
The foam cannon allows for even distribution of the cleaner, making it easier to lift grime without scrubbing excessively, which can damage the bike’s finish.
Step 2: Detail Clean with Cleaner
For those stubborn spots that foam and water can’t handle, Slick Cleaner steps in to save the day.
Apply the Cleaner: Spray the cleaner directly onto problem areas like the chain, sprockets, or under the fenders.
Scrub Lightly: Use a soft brush or sponge to work the cleaner into tough spots.
Rinse Again: Wash away the loosened grime with water.
Pro Tip: Focus on high-contact areas prone to grease and mud buildup for the best results.
Step 3: Shine & Protectant for the Finishing Touch
Now that your bike is sparkling clean, it’s time to protect your hard work and restore that factory-fresh glow.
Apply Shine & Protectant: Spray a light, even coat of Slick Shine on all surfaces, avoiding areas like the seat or grips for safety.
Buff It In: Use a microfiber cloth to gently buff the protectant, ensuring a streak-free finish.
Admire Your Work: Stand back and enjoy the shine.
Benefits of Shine & Protectant:
Not only does it enhance your bike’s appearance, but it also creates a barrier against future dirt and grime, making your next cleanup even easier.
Why Choose Slick Products?
Slick Products are designed with off-road enthusiasts in mind. Their formulas are powerful enough to handle the toughest dirt while being safe for your bike’s finish. Plus, they’re proudly made in the USA and trusted by riders worldwide.
Shop and Learn More
Ready to transform your dirt bike cleaning routine? Check out Slick Products and find the perfect solution for your off-road adventures:
👉 Learn More
👉 Find it on Amazon
🇺🇸 Military and First Responder Discount
💪 Get Sponsored
Follow @SlickProducts
✅ YouTube
✅ Facebook
✅ Instagram
✅ TikTok
Say goodbye to grime and hello to a clean, protected ride with Slick Products. Whether you’re prepping for a race or simply hitting the trails, these steps will have your bike looking its best in no time.


